Wednesday, March 29, 2006
Making of a zine - part 2
After I had figured out what my pages were going to be, and how many per zine I needed, I needed to figure out my theme, and decide what I was going to use for filler and ephemera in the zine. I went around my art area cleaning up, and I accumulated quite a pile of 'stuff' that I knew I wasn't going to use, so I decided to include that in my zine. I also like to handmake things for the zine as well, so I decided on what to do for that aspect. When I looked at my pile of stuff, I realized that this was not all going to fit in my zine, because my pages were too small. So I had to think about how to include them with the zine. I was cleaning our office area up and I came across some big 6x8 envelopes. Bingo. I decided to use that to store my zine and the ephemera that wouldn't fit inside the zine. So then I had to decorate the outside of those, because just plain white envelopes just wouldn't do :)
My color scheme for the zine came from some patterned paper that I had and loved - it was pink with brown, green, orange, and darker pink circles on it. And then I had some more coordinating paper in those colors. Hence the orange dye and pink paint. I had decided on gold as my accent color, and so I decided for the envelopes, to do something with brown, green, and gold paint.
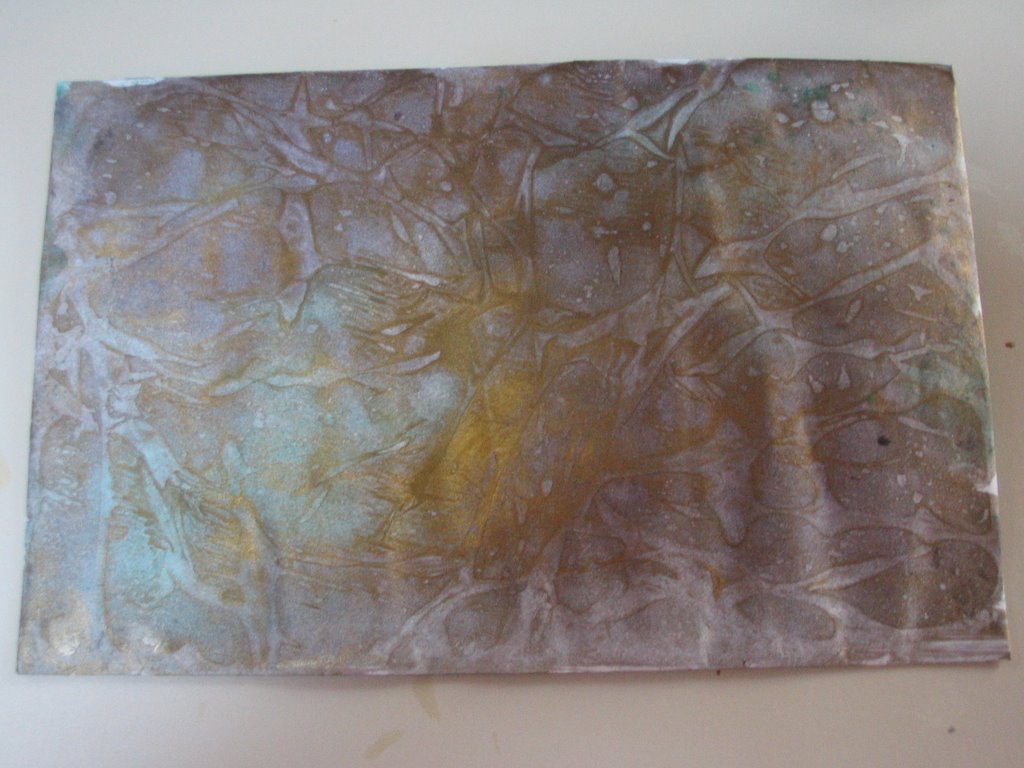
Well.............I didn't have any brown paint, and was too impatient to wait until I could get to the store to buy some, so I decided to make some. It looks brown and painted brown, but the technique I had chosen to do for the envelopes lifted some of the paint away, and when that happened, the colors making up the brown separated a bit, and so the brown ended up looking more purple than brown. So the envelopes ended up not really matching the zine, LOL, but they look cool in their own right.


I painted, and then placed plastic wrap on top of it, and when it dried, pulled the wrap off of it. I got the idea from one of Claudine Hellmuth's books that I just bought. Fun book, great ideas.
My color scheme for the zine came from some patterned paper that I had and loved - it was pink with brown, green, orange, and darker pink circles on it. And then I had some more coordinating paper in those colors. Hence the orange dye and pink paint. I had decided on gold as my accent color, and so I decided for the envelopes, to do something with brown, green, and gold paint.
Well.............I didn't have any brown paint, and was too impatient to wait until I could get to the store to buy some, so I decided to make some. It looks brown and painted brown, but the technique I had chosen to do for the envelopes lifted some of the paint away, and when that happened, the colors making up the brown separated a bit, and so the brown ended up looking more purple than brown. So the envelopes ended up not really matching the zine, LOL, but they look cool in their own right.

I painted, and then placed plastic wrap on top of it, and when it dried, pulled the wrap off of it. I got the idea from one of Claudine Hellmuth's books that I just bought. Fun book, great ideas.
Making of a zine
A zine? What's that? That was what I first thought when I read an article in Somerset Studio a few months ago about The Gleaner Zine. Eventually, I found my way to the Yahoo Group called (surprise surprise) TheGleanerZine. I joined, and now take part in their zine swaps, which are a ton of fun. I have just finished my second zine. When I was creating my very first zine, I had never seen one before outside of a few internet images and a couple of articles in Somerset. I couldn't really find a lot of info online about them. So, I decided for my second zine, to take pictures of it and post the process that I went through to create the zine. Maybe this will help someone else out who is just getting started in the zine world. And if not, it's a new post on this quiet blog, LOL.
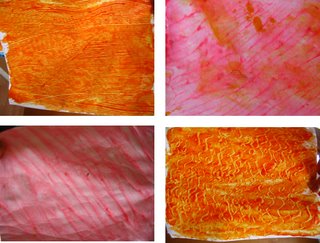
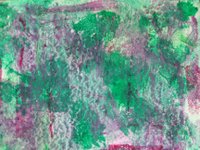
This zine was a bit of an experimentation. I've been wanting to try out paste papers for awhile now, and when I finally did, I ended up with several sheets, so I decided to cut those up and use those for my pages in my zine. I used 2 different recipes to make my paste papers. I used a flour recipe and a cornstarch recipe. I found that I preferred the cornstarch. It was a lot creamier and easy to spread, and it dried a lot more flexible and with a slightly shiny look to it. The flour pages are more dull, and they they also crack a lot - but despite the cracking, they stay attached to the paper, so the cracks just give it more personality. Here is a website where I found the recipes I used: Paste Paper I used orange RIT dye and Pink poster paint for the coloring. They dried incredibly bright, although the pink flour paper dried a lot paler. I used combs and my kid's textured bath toys to make designs in the paper. I did this on a variety of paper - regular cardstock, watercolor paper, and thin drawing paper. It took about 24-48 hours for the paper to dry, and then I did the other side of all the paper, and then it also took a couple of additional days of pressing the paper under heavy books to flatten them. So it was about a week long process just to make the pages for the zine.

Gathering my supplies....
the end results
When they were all dried and flattened, I cut them up into individual pages - they are about 4x3 (which I would not recommend. It's just a little too small, I think.)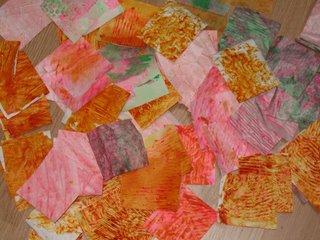

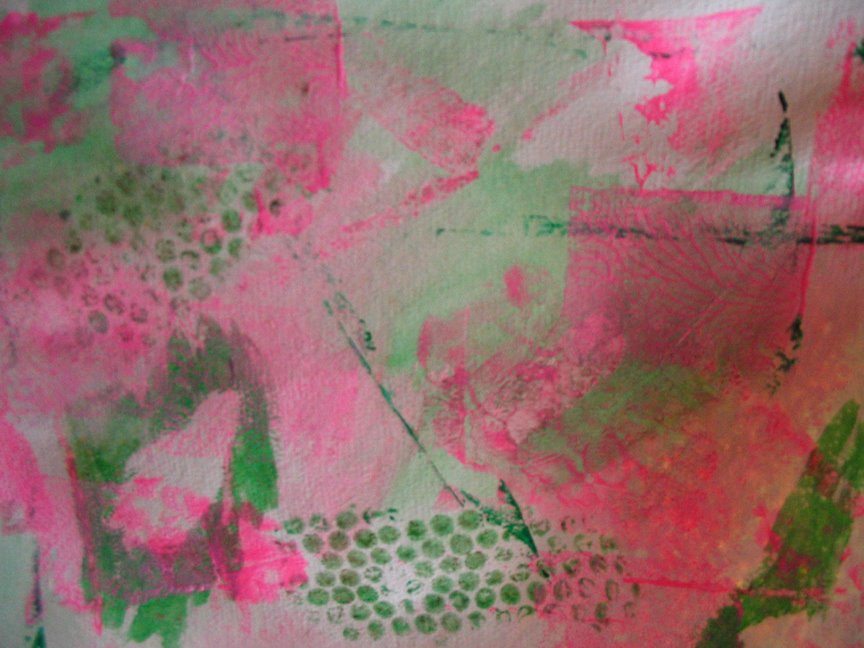
I had also experimented with some
simple paint collages, that I decided
to cut up and include as well.
This zine was a bit of an experimentation. I've been wanting to try out paste papers for awhile now, and when I finally did, I ended up with several sheets, so I decided to cut those up and use those for my pages in my zine. I used 2 different recipes to make my paste papers. I used a flour recipe and a cornstarch recipe. I found that I preferred the cornstarch. It was a lot creamier and easy to spread, and it dried a lot more flexible and with a slightly shiny look to it. The flour pages are more dull, and they they also crack a lot - but despite the cracking, they stay attached to the paper, so the cracks just give it more personality. Here is a website where I found the recipes I used: Paste Paper I used orange RIT dye and Pink poster paint for the coloring. They dried incredibly bright, although the pink flour paper dried a lot paler. I used combs and my kid's textured bath toys to make designs in the paper. I did this on a variety of paper - regular cardstock, watercolor paper, and thin drawing paper. It took about 24-48 hours for the paper to dry, and then I did the other side of all the paper, and then it also took a couple of additional days of pressing the paper under heavy books to flatten them. So it was about a week long process just to make the pages for the zine.
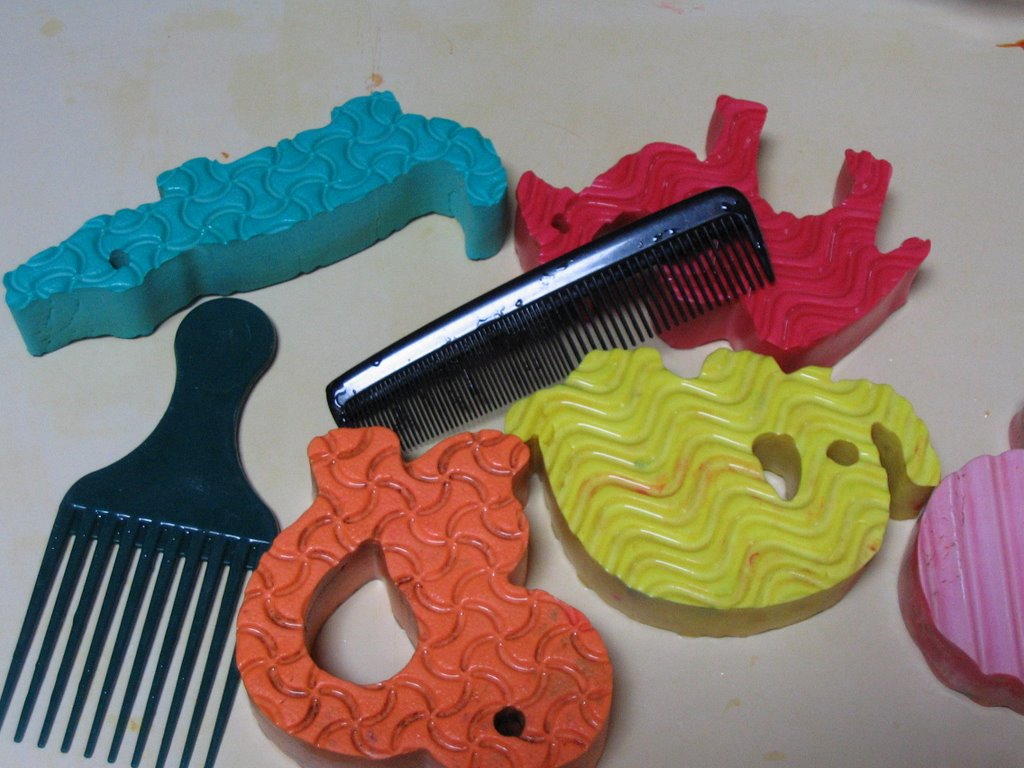
Gathering my supplies....

the end results
When they were all dried and flattened, I cut them up into individual pages - they are about 4x3 (which I would not recommend. It's just a little too small, I think.)


I had also experimented with some
simple paint collages, that I decided
to cut up and include as well.
![]()